How to Add a Dotted Map to a Wix Website
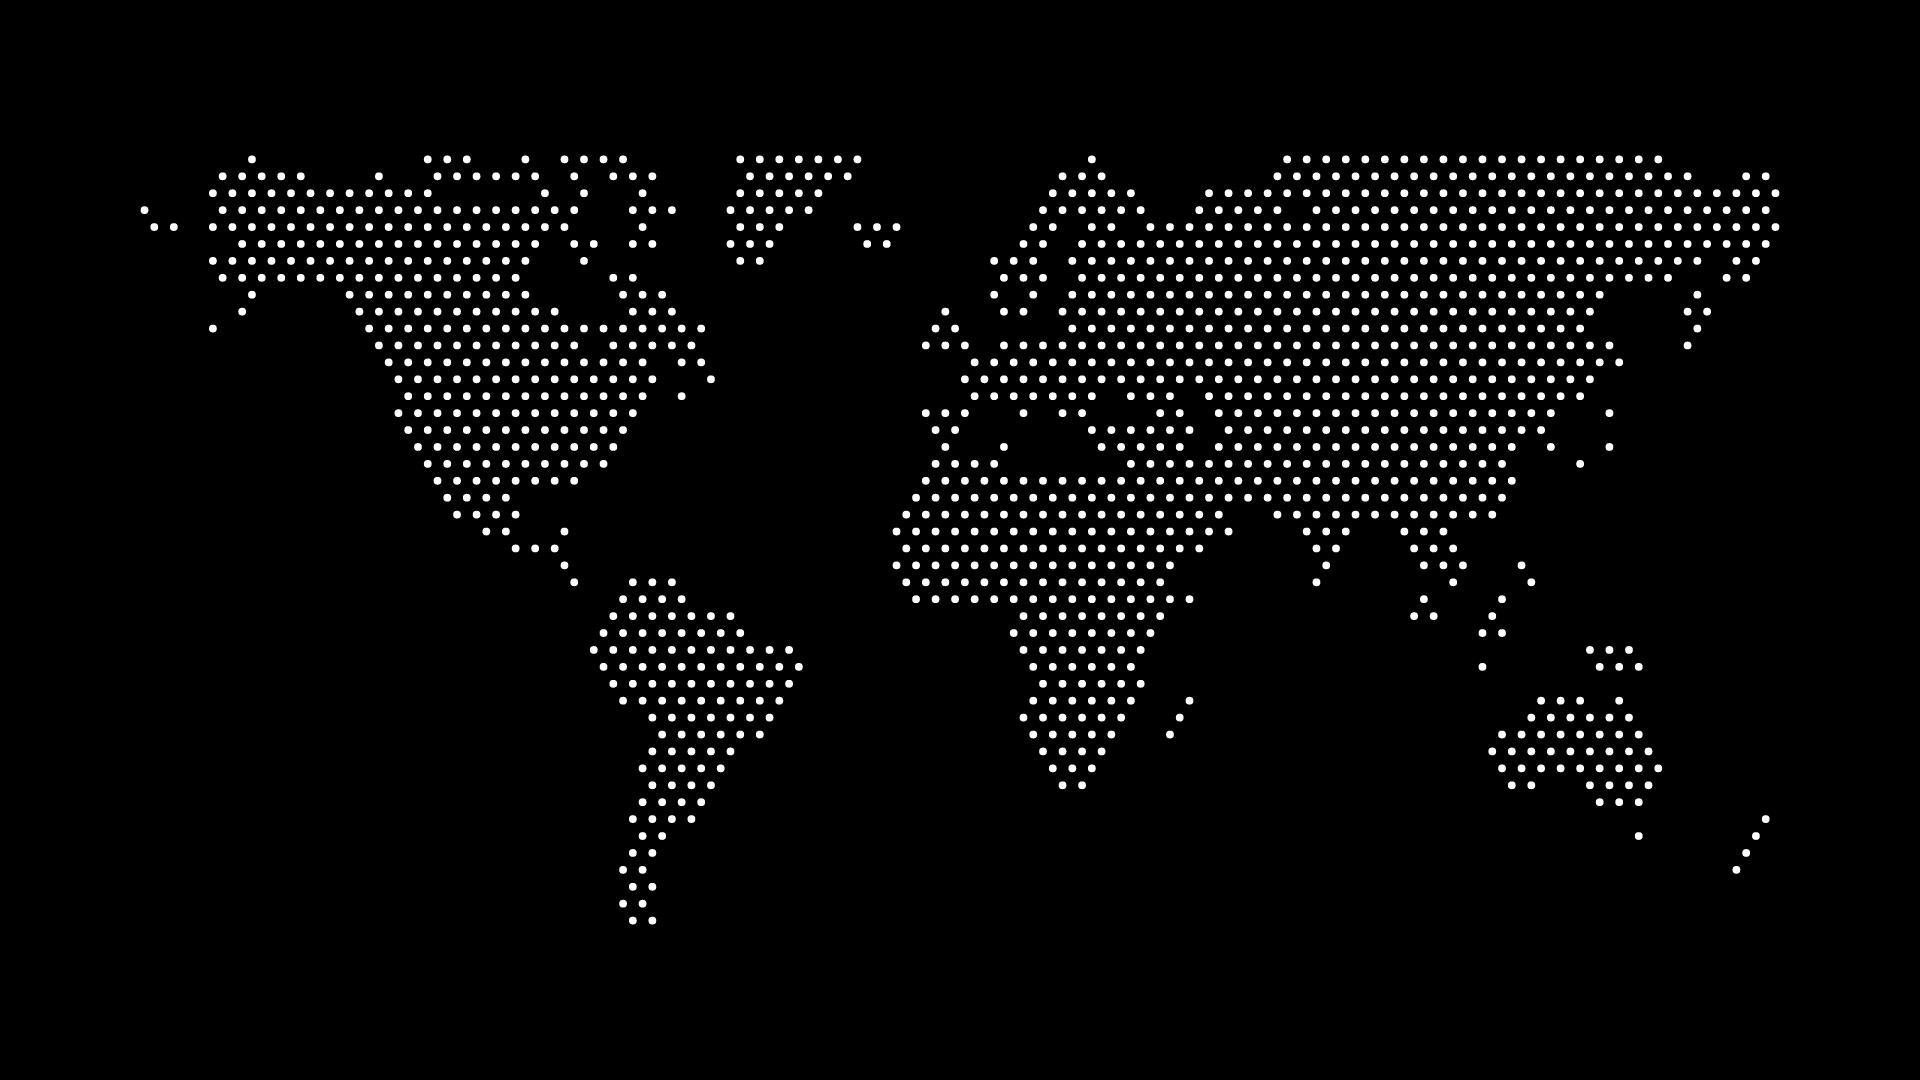
A dotted map can give a Wix website a global or location-based visual cue without making the page feel like a traditional map interface. It works well in a hero section, company story, reach section, or simple visual divider.
The key is to prepare the map for the section where it will appear, rather than treating it as a generic image upload.
Start with the section’s message
Use a world map when the section discusses international customers, distributed teams, global availability, or a broad geographic story. Use a country or regional map when the scope is more specific. The map should strengthen the copy already on the page.
Create the map for its final placement
Choose a dot color that fits the Wix site’s palette and preview it against the eventual background. Set a lower density for a background treatment and a higher density only when the map will appear as a larger focal visual.
A transparent background is useful when the map needs to blend into an existing section color. A filled background is useful when it belongs inside a separate image block or card.
Upload and place the export
Export the map in the format your chosen Wix workflow accepts most reliably. SVG is a useful master format for a crisp, scalable graphic; a high-resolution PNG is a practical alternative for fixed image placements.
Upload the file, add it to the relevant section, and set the layout before placing other elements around it. Keep important text, buttons, and form fields away from the densest part of the map.
Check the mobile layout
Inspect the map at narrow widths. A wide world map may need to become smaller, more cropped, or move below the text. If it makes the section harder to scan, remove it on mobile and preserve the message with copy alone.
Final thoughts
A dotted map can make a Wix site feel more distinctive when it supports a clear geographic idea. Keep the style restrained, place it outside the reading path, and test the final composition across screen sizes.