How to Create a Dotted Map With a Transparent Background
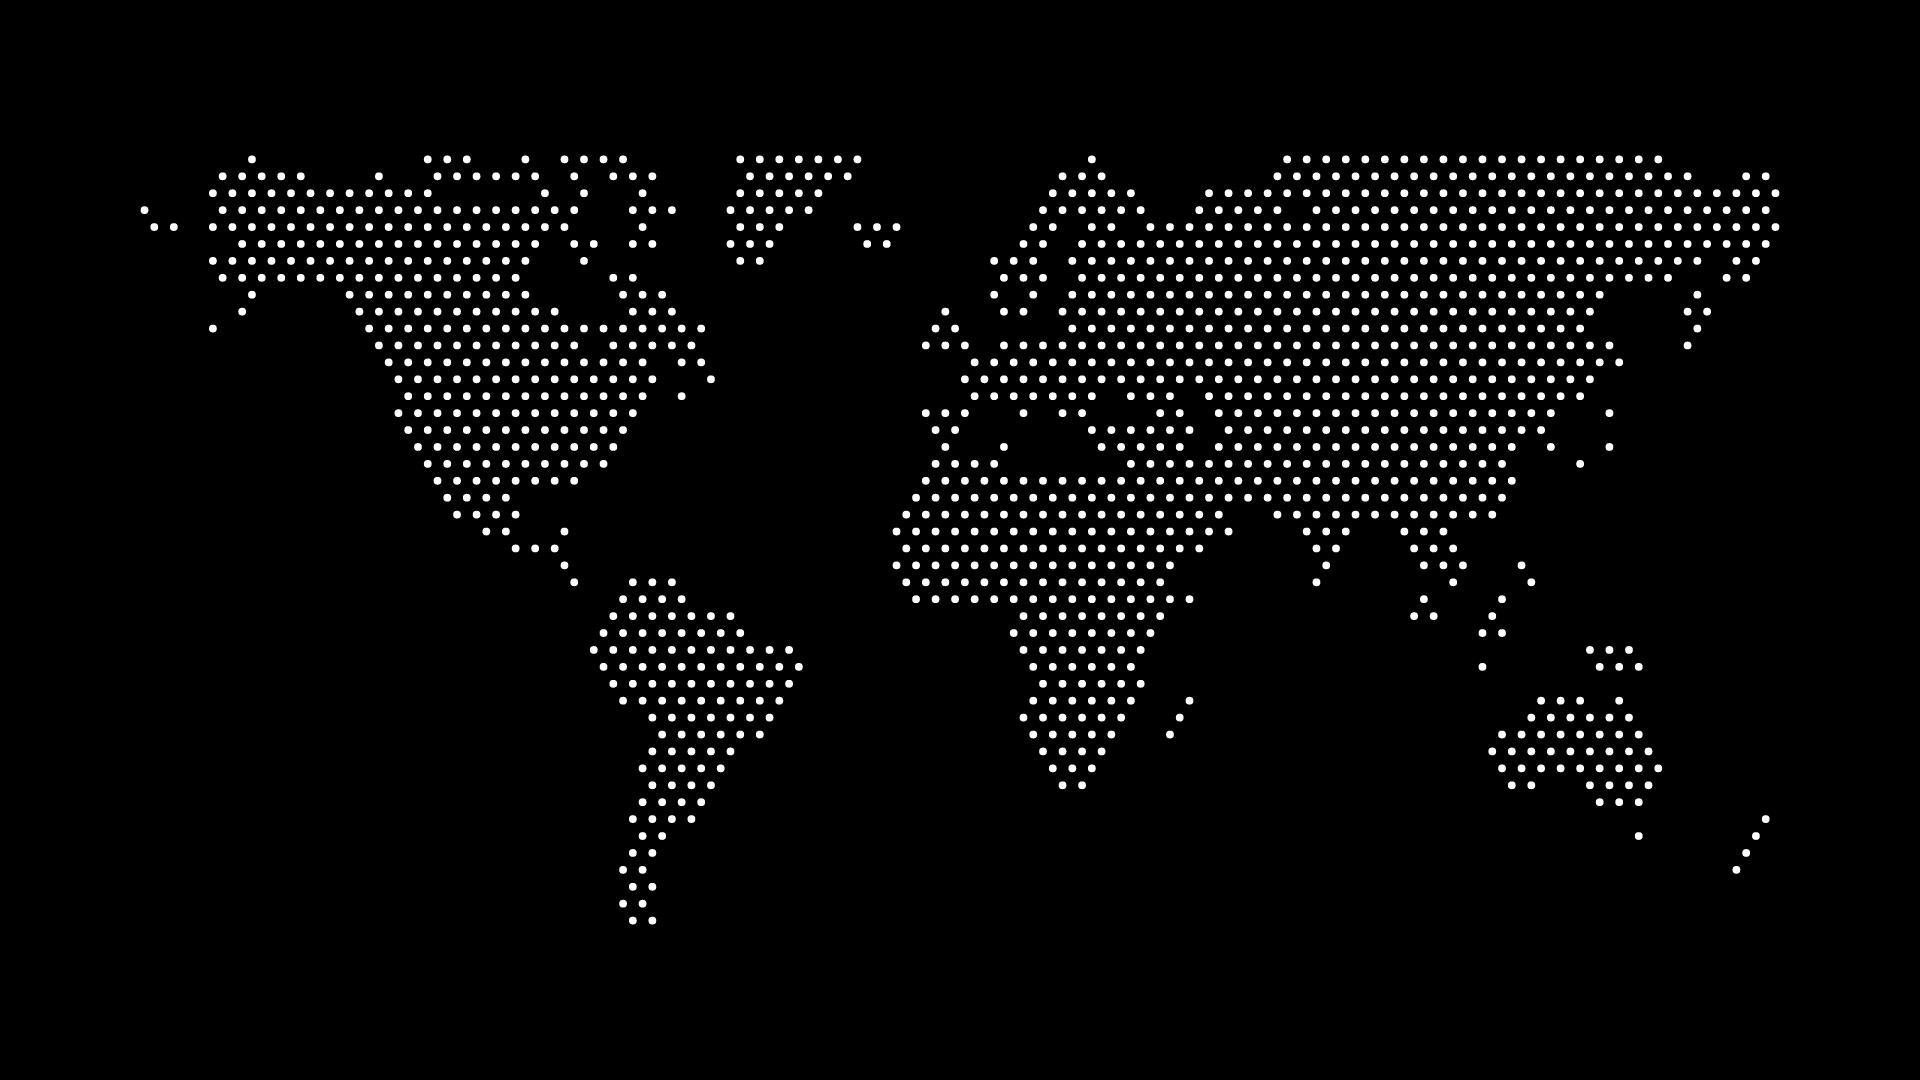
A dotted map with a transparent background is one of the most adaptable ways to use a geographic graphic. Because there is no colored canvas behind the dots, the map can sit on a website, a slide, a poster, or a social design without needing to be cut out or recolored later.
The result can be subtle enough for a background or strong enough to become the main visual on a branded surface.
Step 1: Choose the right map scope
Start with the place the design needs to represent. A world map gives an immediate global cue. A continent or country map is better when the surrounding copy refers to a specific region.
Do not choose a larger map than the message requires. A focused regional map usually creates a clearer composition than a full world map squeezed into a small space.
Step 2: Set the final background before choosing the dot color
The most common mistake with transparent map graphics is choosing a color on a blank editor canvas, then placing it over a completely different final surface. Decide whether the finished design will be dark, light, photographic, or a gradient, and choose the dot color with that context in mind.
- On dark backgrounds, use a light neutral or restrained accent.
- On light backgrounds, use a darker neutral or a mid-tone brand color.
- On photography, place the map over a calmer area or add a subtle color overlay first.
Step 3: Set dot density and size
Dot density controls how much of the map silhouette is visible. A denser pattern makes coastlines and small regions easier to recognize, while a lower density gives the design more air.
Use a denser pattern when the map is a focal point or appears large. Use a simpler pattern when it is background texture or appears beside text. Then adjust dot size until the individual dots look intentional rather than noisy at the final display size.
Step 4: Leave enough padding
Transparent maps still need space around their edges. Add enough padding that the silhouette does not appear accidentally cropped when it is placed in the final layout. If you do want a cropped treatment, crop it deliberately from one side rather than cutting off multiple edges at random.
Step 5: Export for the destination
Choose SVG for responsive websites, high-quality print, and vector design workflows. Choose a high-resolution PNG for fixed-size social graphics, presentations, or platforms that do not accept SVG.
For either format, confirm that the transparent canvas has been retained after import. Some presentation and publishing tools preview transparent files against a checkerboard or white surface, which can make a correct export look misleading at first.
Test the map in context
Before publishing, place the map in the actual design and check three things: readability of nearby text, contrast of the dots, and whether the map still reads at smaller screen sizes. The correct map style depends on the layout around it, not just the map itself.
Final thoughts
Transparent dotted maps work because they are flexible, but that flexibility only helps when the color, density, and placement are intentional. Build the map for its destination, not as a generic download, and it will fit naturally into the finished design.