How to Edit a World Map SVG in Affinity Designer
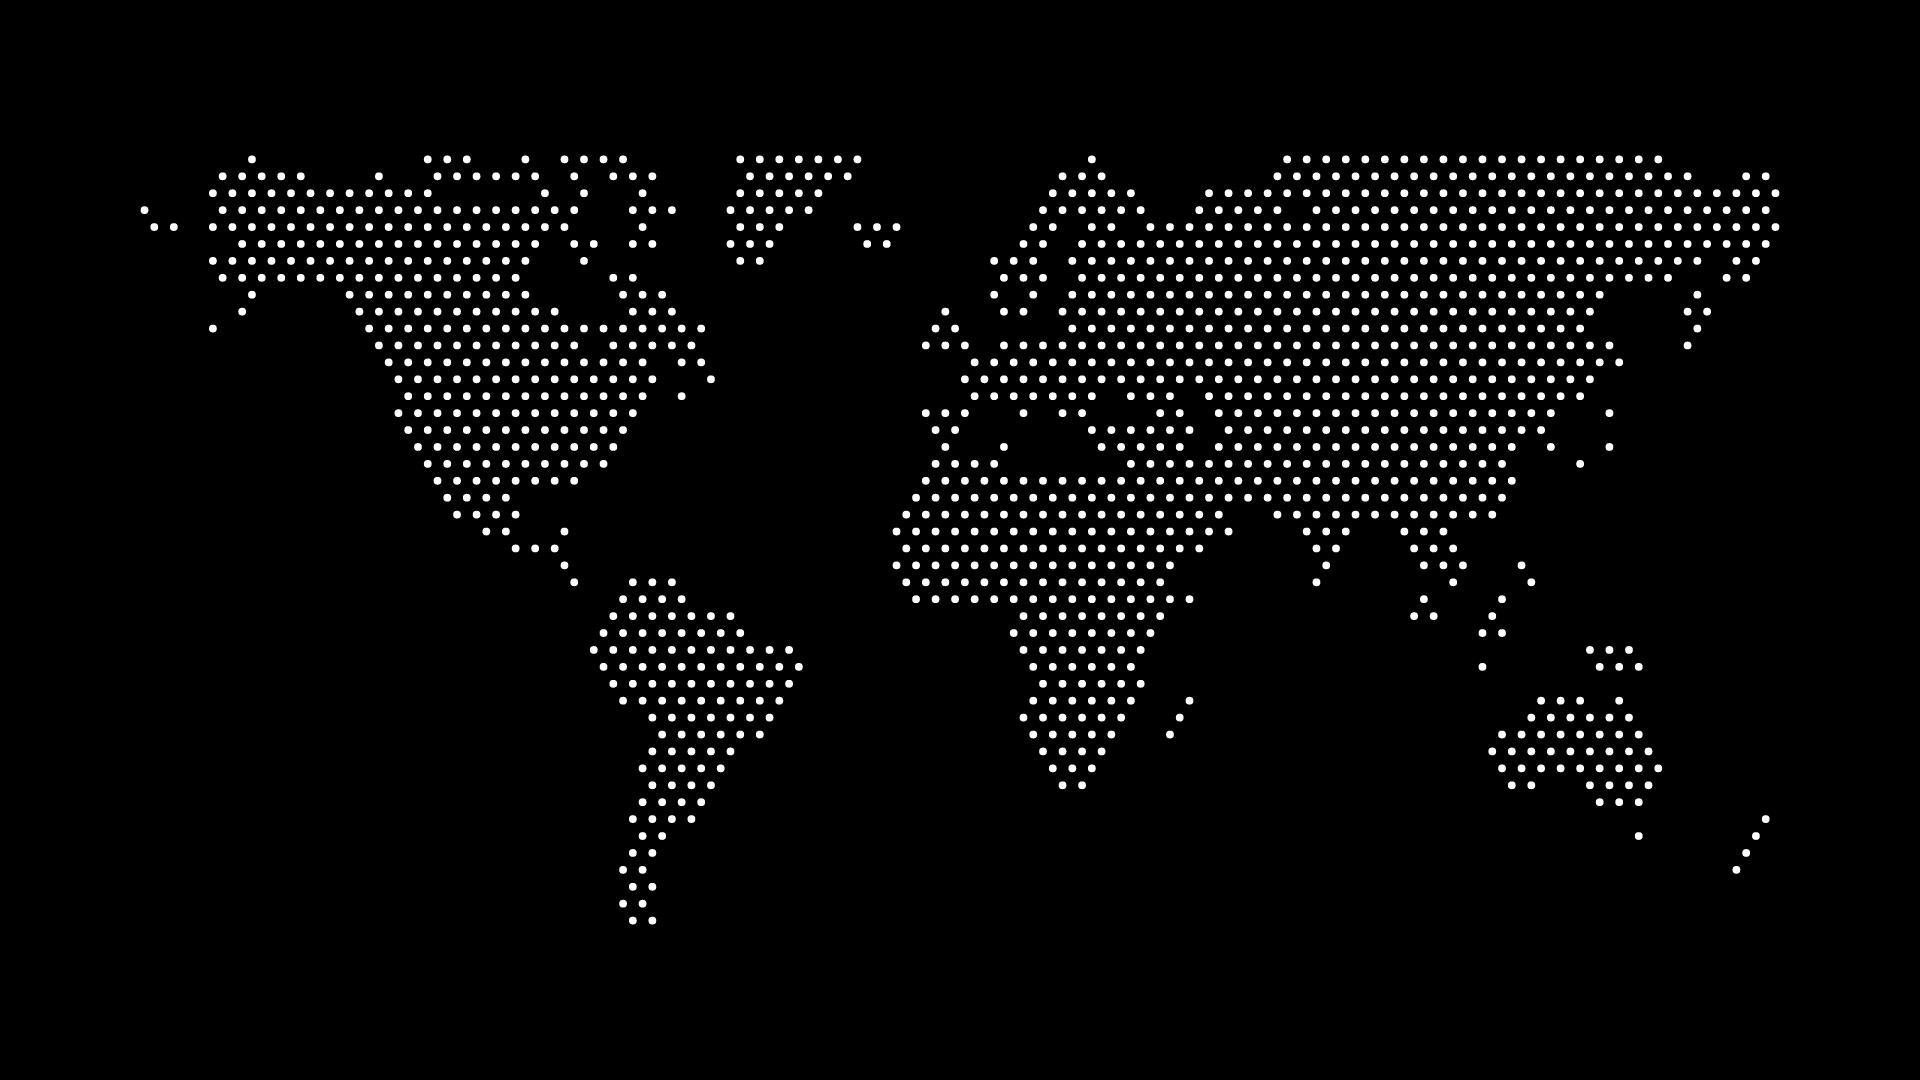
An SVG world map gives you a flexible map asset for Affinity Designer workflows. The best results start before you open the design file: create a map with the right geographic scope, density, color, and background, then use Affinity Designer to place it within the broader composition.
Build the map with the destination in mind
Decide whether the map will be a background, an illustration beside copy, or a feature graphic. A background map should use quieter colors and lower density. A focal map can use more contrast and a more detailed dot pattern.
Import and scale the SVG
Add the SVG to the Affinity Designer document and size it for the canvas. Because SVG is vector-based, it remains sharp when you scale it. Still, check the visual result at the final output size: small dots can become too fine when a map is reduced dramatically.
Integrate the map with the composition
Use the document’s palette to ensure the map works with the typography, shapes, and imagery around it. Keep a clean area for text and avoid placing important details over a dense part of the map.
If the map functions as a background, consider cropping it from a canvas edge or lowering its visual intensity through color and density. Let the important editorial or marketing content remain the first thing a viewer notices.
Export the finished work
Choose an output format based on the destination. Keep SVG when the final work needs to remain vector-based. Export a high-resolution PNG for fixed-size social, slide, or image placements. Check transparency, dimensions, and edge quality before sharing the file.
Final thoughts
Affinity Designer is most useful here as part of a considered design workflow, not as a rescue step for a mismatched map. Set the map’s core visual choices first, then use the vector asset to create a clean, balanced final composition.