How to Use a Dotted Map SVG in Photoshop
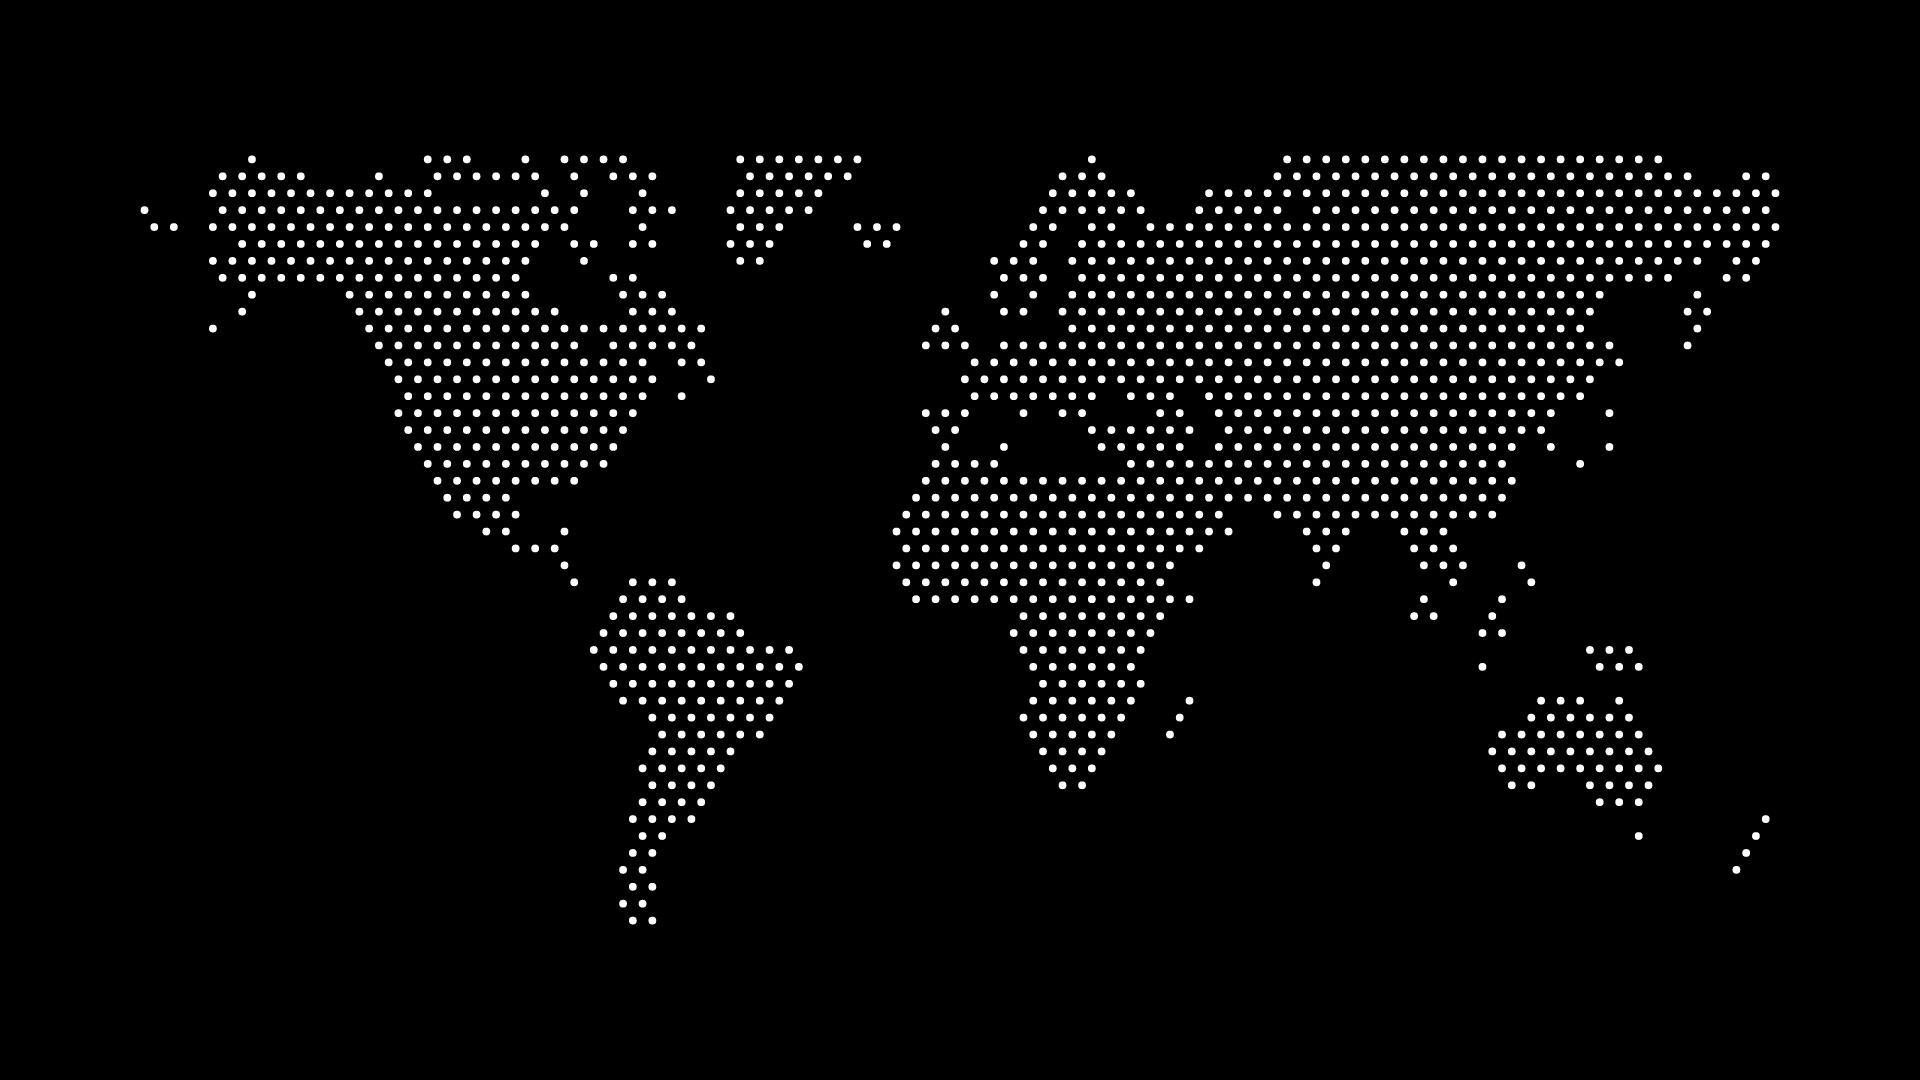
Photoshop does not open SVG files the way a vector editor does, so a dotted map SVG in Photoshop needs a slightly different workflow than importing into Illustrator or Figma. The good news is that once you know the right import method, the map stays sharp at any size and is just as easy to recolor as it would be in a dedicated vector app.
This is a common need for designers who live in Photoshop for ad creative, YouTube thumbnails, or composite social graphics but still want a clean, scalable map instead of a blurry stock photo.
Import the map as a Smart Object
The key step is File > Place Embedded (or Place Linked if you want to keep editing the source file separately). Placing an SVG this way converts it into a Smart Object, which means Photoshop rasterizes it at whatever resolution your canvas needs rather than baking in a fixed pixel size up front.
A few things to keep in mind:
- Scale the Smart Object up or down as many times as you want before flattening — the underlying vector data is preserved until you rasterize it.
- Double-click the Smart Object thumbnail to reopen the original SVG content in its own tab if you need to trim paths or check the source.
- If you only need a static image and don't plan to resize later, exporting the map as PNG at your target resolution from the generator is simpler than managing a Smart Object.
Recolor the dots without leaving Photoshop
Because the map arrives as a single flattened Smart Object, you can't select individual dots the way you could in Illustrator or Figma. Instead, recolor the whole map with adjustment layers clipped to the Smart Object:
- Add a Hue/Saturation or Color Balance adjustment layer above the map layer.
- Alt-click (Option-click on Mac) between the adjustment layer and the map layer to clip it, so the color shift only affects the map.
- For a flat, single-color dot map, a Solid Color fill layer set to the "Color" blend mode reads better than Hue/Saturation, since it removes any tint from the original export instead of shifting it.
If you expect to need several different color variants — for a light and dark version of the same ad, for example — it's faster to generate and export the map twice from the source tool with the colors you actually want, then bring in both as separate Smart Objects.
Composite the map into a layout
Dotted maps work well as a textured background layer behind a headline, or as a supporting graphic next to a statistic or testimonial. A few habits keep the composite readable:
- Drop the map's opacity or use a Levels adjustment to darken/lighten it before placing text over it, rather than fighting for contrast with a bold font weight.
- Group the map with a layer mask if you need it to fade out toward one edge of the canvas — a black-to-transparent gradient on the mask is enough.
- Keep the map on its own layer group separate from any text or UI mockups, so you can swap the region (world, a specific country, a continent) without rebuilding the rest of the composition.
When to reach for a different tool
Photoshop is the right choice when the map is one element inside a raster composite — an ad, a thumbnail, a photo-based social post. If you're building something that stays entirely vector, like a logo lockup or an icon set, working directly in Adobe Illustrator keeps every dot editable as a real path instead of a rasterized Smart Object.
It's also worth deciding between SVG and PNG before you start; the tradeoffs are covered in more detail in SVG vs PNG Maps: Choosing the Right Format. For most one-off Photoshop composites, a PNG exported at 2x your canvas size is simpler than managing a Smart Object, but SVG is worth it if you'll be resizing the same file across multiple ad formats.
Final thoughts
A dotted map SVG fits into a Photoshop workflow without much friction once it's placed as a Smart Object: scale freely, recolor with clipped adjustment layers, and keep it on its own layer group so it stays easy to swap out. If your brand colors are still in flux, review How to Recolor a World Map SVG for Your Brand before you commit to a palette in the composite.
Generate your map at World in Dots, export it as SVG or PNG, and place it into your Photoshop document to get started.