How to Use Dotted Maps in Miro Boards
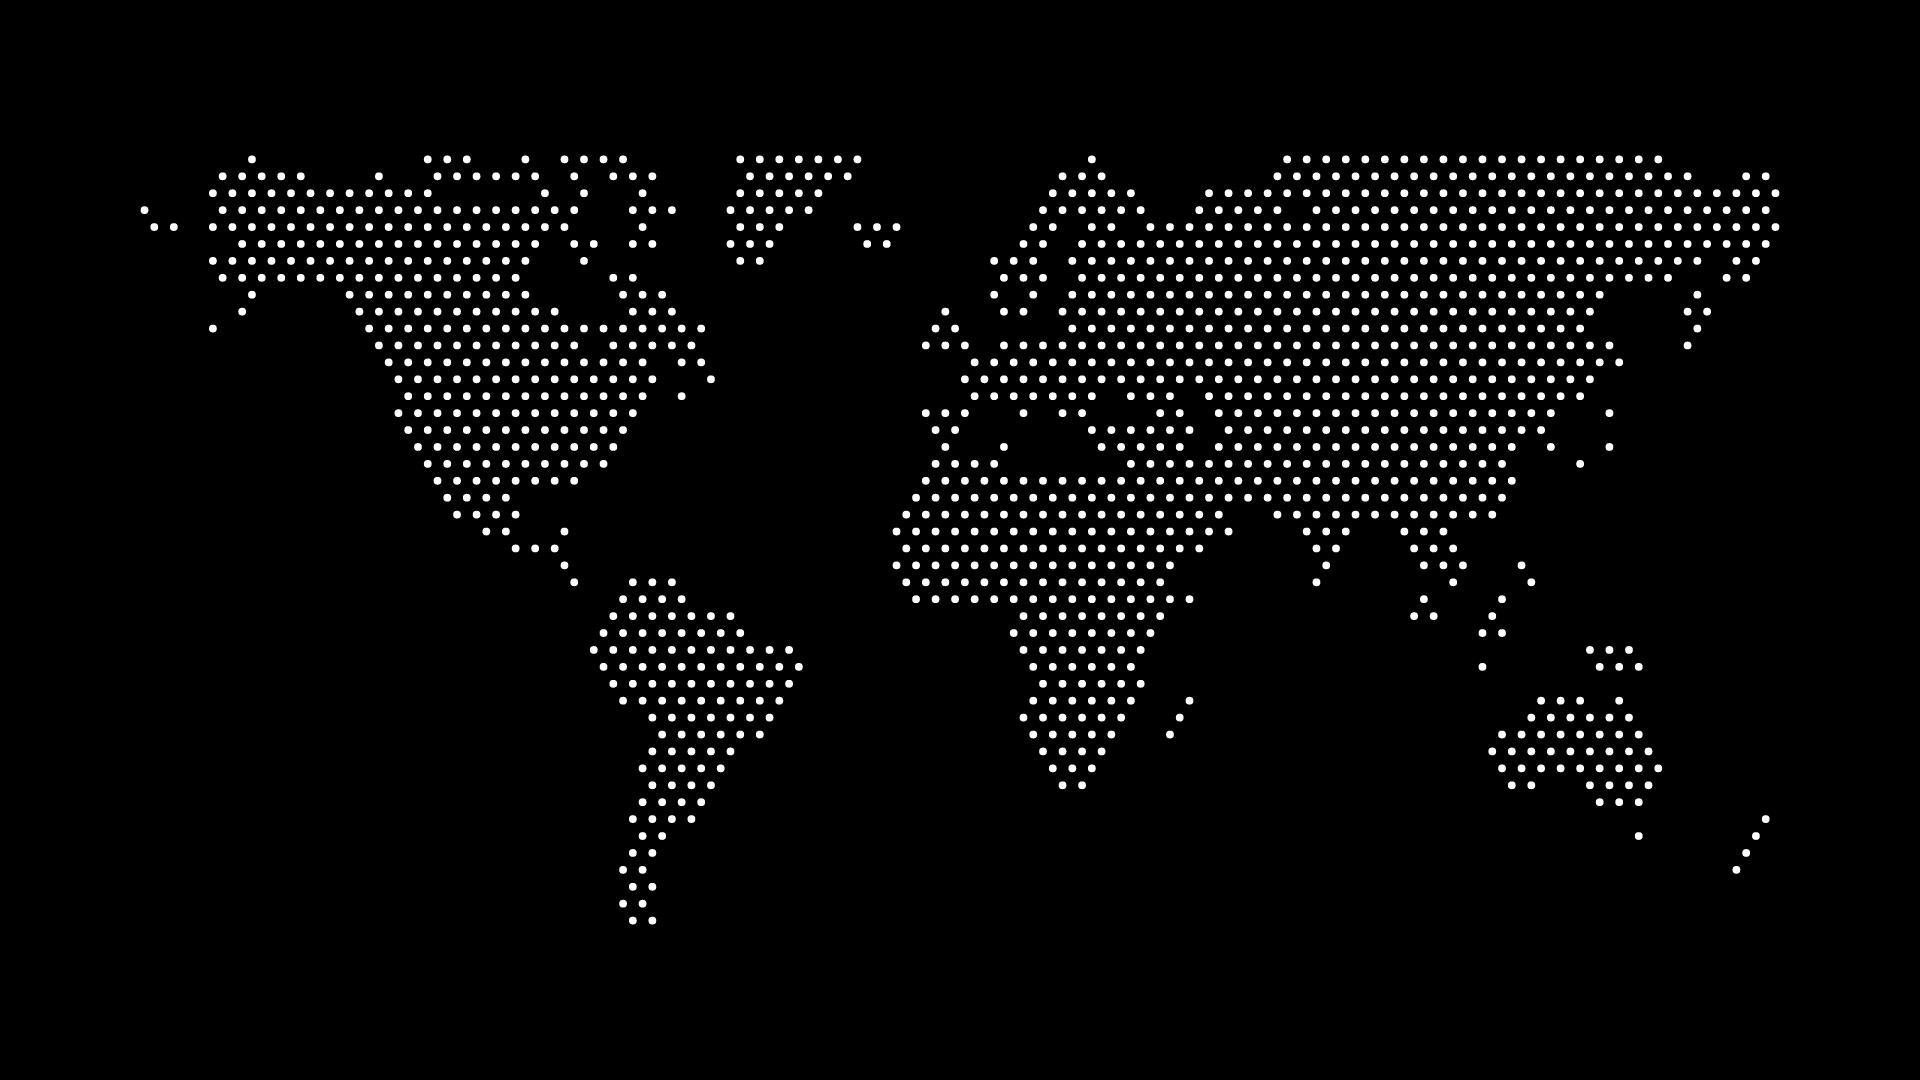
Dotted maps in Miro can provide a clean geographic frame for workshops, team planning, research synthesis, and narrative boards. Because collaborative boards can quickly become crowded, the map should create structure without becoming another source of visual noise.
Choose the map’s purpose first
Use a world, region, or country map when the board needs to discuss markets, research locations, team distribution, travel, or a geographic story. If the board is not about place, a map may add unnecessary visual complexity.
Create a map that leaves room for collaboration
Choose a low-contrast dot color, a simple shape, and medium or low density. In Miro, the map may sit behind sticky notes, arrows, frames, and comments, so a detailed high-contrast pattern can make the board difficult to scan.
Use a transparent background when the map should blend into an existing board area. Use a filled background when it belongs inside a defined frame or workshop section.
Add the map to the board
Export a suitable version of the map, then upload or drag it into the Miro board. Set its size before placing other objects around it. Keep labels, sticky notes, and discussion prompts in clear areas; do not rely on the dotted map to communicate precise locations that participants need to identify.
Keep the map a supporting layer
Treat the map as a backdrop for a conversation rather than the board’s data source. If the workshop requires exact markers, country comparisons, or detailed regional analysis, add clear text labels and source information alongside the map.
Final thoughts
Dotted maps can make Miro boards more memorable and easier to orient when geography is relevant. Use a restrained style, leave breathing room for collaboration, and make the workshop content—not the decoration—the center of attention.