SVG Maps for Laser Cutting and Engraving Projects
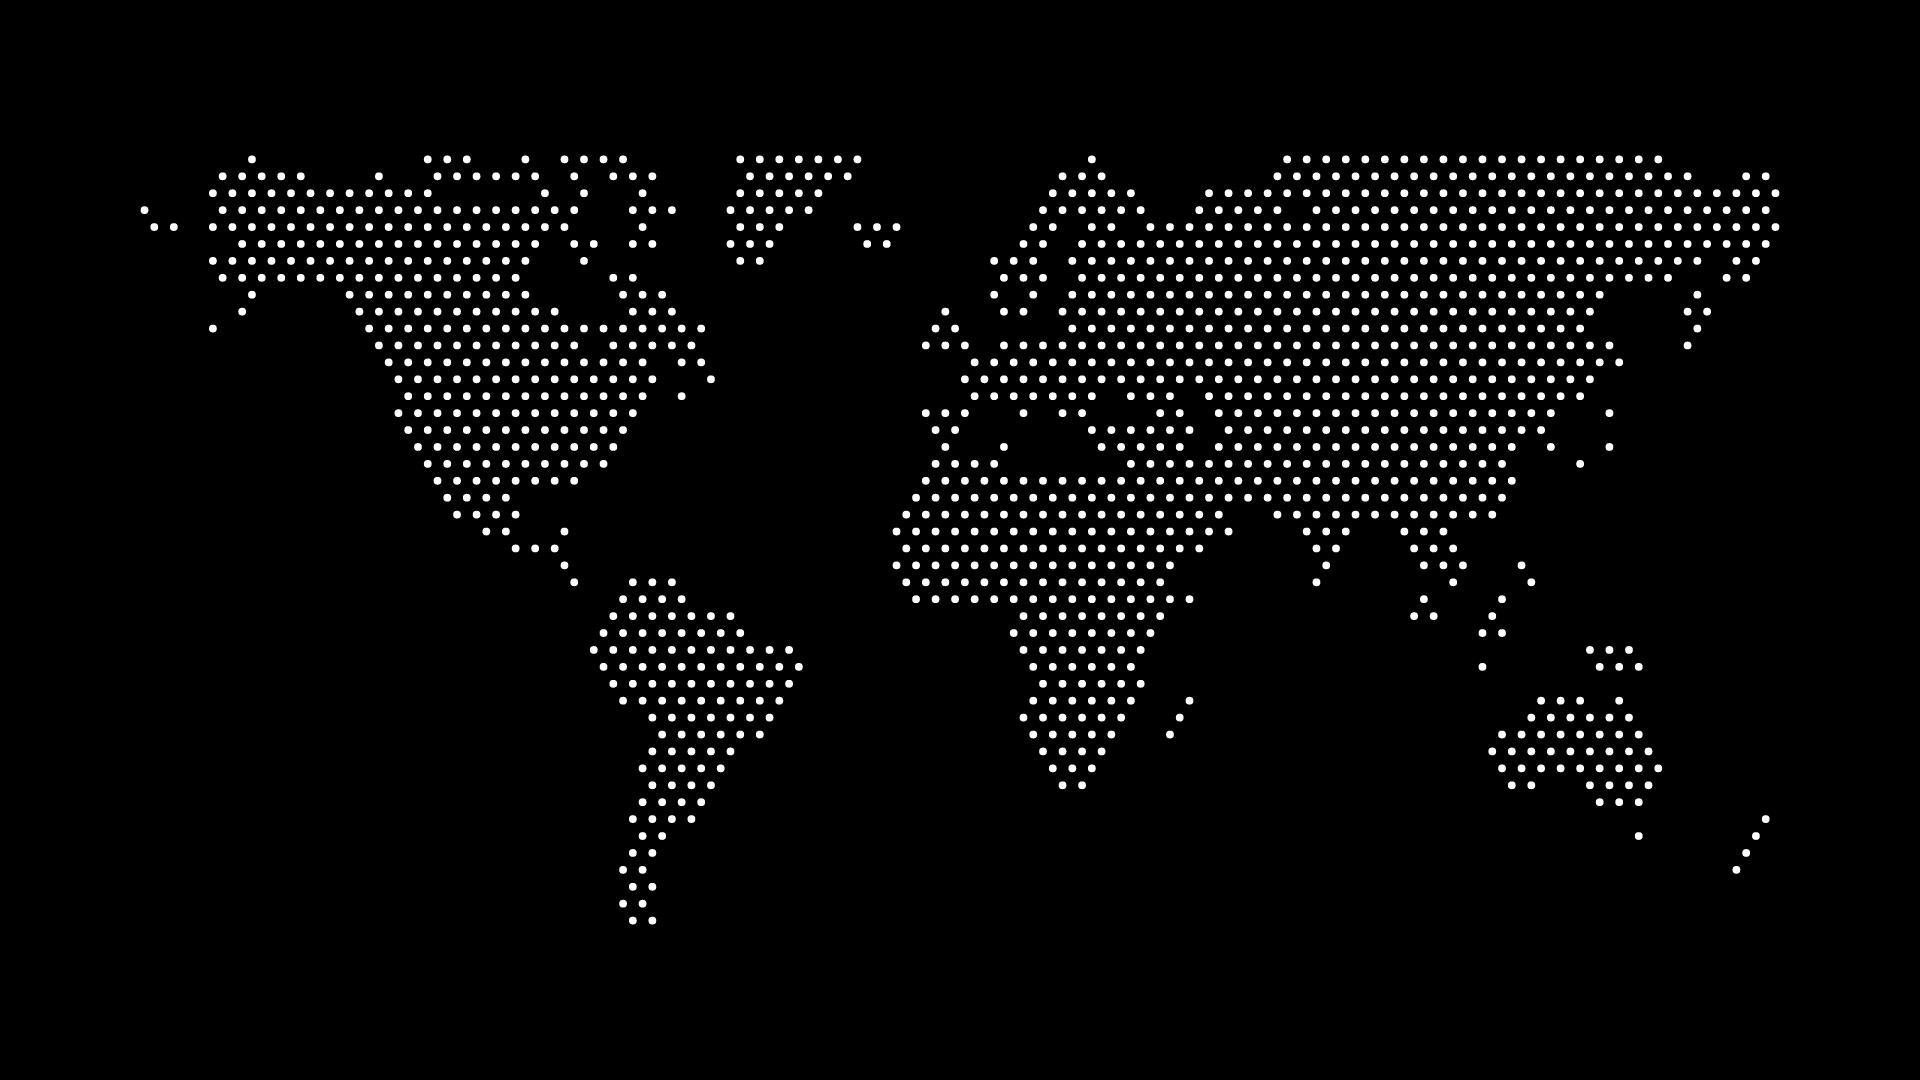
An SVG map for laser cutting has different requirements than one destined for a screen. A laser follows every path in the file, in order, so a map built for crisp on-screen rendering can translate into a job that either takes far too long to run or clogs the cutting bed with thousands of tiny, unusable fragments. Getting a dotted map ready for a laser cutter or engraver is mostly about controlling two things: how many paths the file contains, and whether those paths are sized for cutting or for engraving.
Laser hobbyists reach for world and country maps constantly — wall art, coasters, wedding gifts, plywood signage — because a dotted or stippled style already looks like something designed for a machine tool, rather than something that has to be adapted to look that way.
Cutting vs. Engraving: Different Files, Different Goals
These are two different jobs, and they call for different dot settings before you ever open the file in your laser software.
Engraving burns a mark into the surface without cutting through it. This is the more forgiving mode — a laser can engrave a fine dot pattern with a lot of detail, since the beam is just tracing or rastering across the material rather than punching individual holes. A denser, smaller-dot map reads well here, closer to what you'd use for print.
Cutting removes material entirely, and for a dot map that usually means each dot becomes its own cutout — a hole, a stencil opening, or (if you're cutting the dots out as standalone pieces) hundreds of tiny individual parts. Cut jobs need larger, more sparsely spaced dots. Anything under roughly 2–3mm becomes difficult for most consumer lasers to cut cleanly, and a design with thousands of dots at that size will also take a very long time to run, since the laser has to travel to and stop at each one.
Getting the Dot Settings Right
Before exporting, decide which mode you're building for and adjust density and dot size accordingly:
- For engraving, a higher dot density and smaller dot size is fine — the machine is rastering or tracing fine detail, not making individual cuts.
- For cutting, increase dot size and reduce density substantially. Fewer, larger dots mean fewer total cut paths, which keeps job time reasonable and avoids overly delicate, breakable material between dots.
- For stencils or layered pieces, where the dots become negative space cut out of a solid backing sheet, leave enough material between each dot so the surrounding sheet stays structurally intact — a common failure mode is a design that looks fine on screen but falls apart once the material between dots is actually removed.
If you're unsure where to start, export a couple of versions at different densities and test-cut a small corner of the material before committing to a full sheet.
File Prep Checklist Before Import
Most laser software (LightBurn, the Glowforge app, xTool Creative Space) imports SVG directly, but a few checks up front save wasted material:
- Check the path count. A map with an extremely high dot count can slow down or choke some laser software on import. If your software struggles, regenerate with a lower density rather than trying to manually delete paths after the fact.
- Confirm your bed size against the map's dimensions. Scale the SVG to your actual material size before sending it to the machine — most laser software scales on import, but double-checking avoids a design that's cut at the wrong scale.
- Separate cut and engrave layers if your project has both. A common technique is engraving a subtle country outline while cutting only a handful of larger dots as accent marks — check your laser software's layer-by-color settings if you want cut and engrave lines to run as separate operations.
- Test on scrap material first, especially for a new dot density or a material you haven't cut before (plywood, acrylic, and leather all behave differently at the same power and speed settings).
Good Project Types for a Laser-Cut Dot Map
- Wall art — a country or world map engraved or cut into wood, framed or mounted directly
- Layered signage — a cut dot map layered over a contrasting backing material for a raised, dimensional look
- Coasters and small gifts — a single country or city-focused region, engraved onto wood or slate
- Wedding and anniversary keepsakes — two highlighted locations on a single map, similar in spirit to the ideas in designing custom wedding maps with dot patterns, adapted for cutting rather than print
For craft-machine projects using a cutting blade rather than a laser, the density and sizing considerations are similar — see dotted map SVG cut files for Cricut projects for the equivalent workflow on a vinyl or paper cutter. And if the finished piece is headed for a wall rather than a cutting bed, how to create a dotted map wall art for your office covers framing and print sizing.
Generate Your Laser-Ready Map
Build your map in the dotted map generator, choosing a country, region, or the full world, and set the dot size and density to match your cutting or engraving goal before exporting as SVG. For more on why SVG is the right format to hand a laser in the first place, see the complete guide to dotted map SVGs.