Importing a Dotted Map SVG into Adobe InDesign
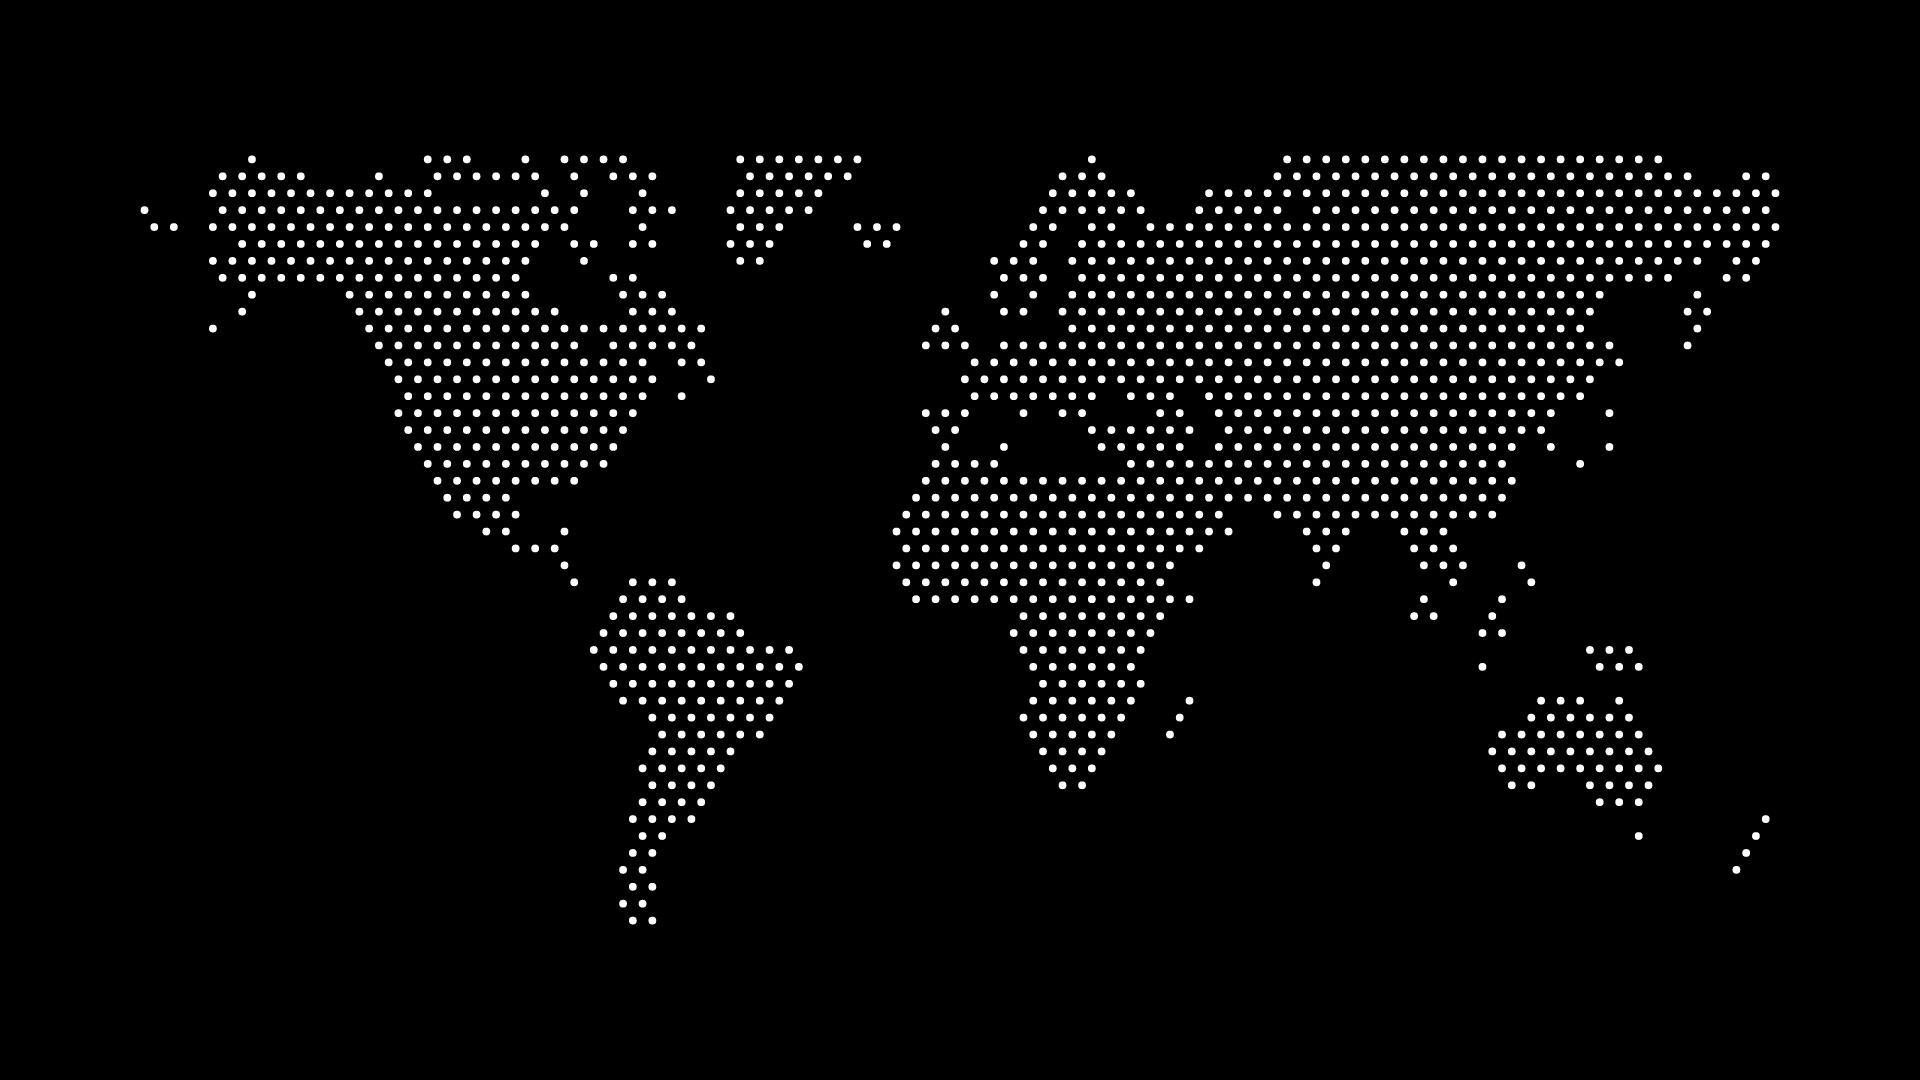
Importing a dotted map SVG into Adobe InDesign is straightforward once you know how the app treats vector files: InDesign places SVGs as linked or embedded graphics rather than editable paths, so the trick is getting the map's color and density right before it ever touches a layout. For designers building annual reports, brochures, or multi-page editorial documents, that one extra step upfront saves a lot of relinking later.
Unlike Illustrator or Affinity Designer, InDesign isn't built for editing vector artwork — it's a page-layout tool. That changes the workflow: instead of tweaking the map after placement, you configure it in the generator first, then drop the finished file into your document.
Preparing the Map Before You Place It
Because InDesign won't let you recolor individual dots after import without round-tripping through Illustrator, set everything up front:
- Pick your final colors — match the dot color and background to your document's palette before export, since InDesign displays the SVG as-is
- Choose a density that holds up small — reports often show a world map at quarter-page size or smaller, so test the dot density at your intended print dimensions
- Decide on background — a transparent background lets the map sit on a colored page or photo; a solid background behaves like a placed image with a hard edge
- Export at a reasonable scale — SVG is resolution-independent, but very high dot counts can slow InDesign's screen redraw in long documents
Placing the SVG in InDesign
- File > Place (or Cmd/Ctrl+D) and select the exported SVG file
- Click or drag to draw the frame — InDesign scales the map proportionally by default
- With the graphic selected, use the Object > Fitting menu to fit content to the frame or fit the frame to content, depending on whether your layout is frame-first or image-first
- Check the Links panel — SVGs placed this way stay linked to the source file, so if you re-export a revised map with the same filename, you can update the link instead of re-placing it
That link behavior is useful for annual reports and other documents that go through several drafts: swap the SVG once, and every instance across the document updates.
Working with Color in a Placed SVG
InDesign does let you recolor certain vector graphics placed as SVG, but support is inconsistent across versions and depends on how the file was structured on export. The more reliable approach is to treat the SVG as a finished asset:
- Generate a light-mode and dark-mode version of the map separately if your document has both light and dark sections
- If you need a map that matches an exact brand hex value, set that color in the generator rather than trying to override it after placement
- For a document with several map instances (a title page, a regional-breakdown page, a closing page), export size and color variants for each rather than resizing one master graphic repeatedly
Print-Ready Export from InDesign
Once the map is placed, treat it like any other vector graphic in your InDesign print workflow:
- Preflight — InDesign's Preflight panel (Window > Output > Preflight) will flag missing or modified links, so check it before you package the file
- Package the document — File > Package bundles the linked SVG with your fonts and other assets, which matters if you're sending the file to a printer or another designer
- Export to PDF — use PDF/X-4 or PDF/X-1a for print, and confirm your color mode (RGB vs. CMYK) matches what your printer expects; a dotted map's flat colors convert cleanly to CMYK, but check the on-screen preview against a proof if the exact hue matters
Where This Comes Up in Real Layouts
A dotted world map in InDesign tends to show up in a handful of recurring spots:
- Annual report title or "global presence" pages, often paired with a stat block showing office count or market count
- Brochure back covers, where a simplified world map with a few highlighted regions supports a "we ship everywhere" or "available in X countries" message
- Editorial features, where a map illustrates a country or region referenced in the article text — useful for the kind of geographic storytelling that magazines and newspapers rely on
If your project is closer to that last case, it's worth reading how maps support editorial design more broadly, since the layout considerations overlap with what InDesign is built for.
A Few Practical Notes
- If InDesign renders the SVG with a visible bounding box or unwanted background, check that the export had a transparent background set — this is a generator setting, not something you fix in InDesign
- Very complex SVGs (extremely high dot counts) can make InDesign's preview sluggish; a PNG placed at 2x the final print size is a reasonable fallback if screen performance becomes a problem, though you lose the ability to scale infinitely
- Keep a copy of the export settings (region, density, colors) you used, so a revision months later matches the original rather than drifting
Generate Your Map, Then Place It
The cleanest InDesign workflow treats the dotted map as a finished, pre-colored asset rather than something you'll adjust mid-layout. Decide on your palette and density in the map generator, export an SVG that already matches your document, and place it once. If you're preparing several formats for the same project, it's also worth comparing SVG and PNG exports to confirm which one fits your print pipeline, and for other vector-editing options outside InDesign itself, see how the same map behaves when edited in Inkscape or Affinity Designer.